Thursday, 17 July 2014

Artsy Monsters

My best friend is having a baby. It's a huge deal to me! I'm so excited to be able to share what I've been working on lately for the baby's room.

The baby's room is decked out in Monsters Inc. creatures for their little boy. She was hoping to put up some artwork that incorporated the monsters. Her aunt found these cute canvas prints.


As my girlfriend and her significant other appreciate creativity and hope to foster it in their little one, they asked if I could "artsy" them up a bit.

Here are the slightly wacky end results...


I changed the Sulley character, and turned him into George Sanderson (the orange guy) so that Sulley wasn't in every picture.


I added the Roz character, since she's my favorite monster of the bunch. I feel like I've met a number of Roz characters in my life, so Roz made me laugh out loud! I love her gravel voice, partial lipstick, and her elaborate glasses and rockin' hairdo in the movie. My creation is certainly a monster alright, lol.


Because Mike is the star of the show...


And the last one...


Retired Stampin' Up! papers, old book pages, and some recycled music sheets belonging to the baby's dad (a musician) were used here and there. I also used acrylic paint, Mod Podge, and markers.

Now all we need is a baby!

Sunday, 4 May 2014

Kiwi Kiss Hybrids

There have been some birthdays the last couple months, and with Mother's Day around the corner, I made some cards. All are in Kiwi Kiss...


I had some of the stock template greeting cards in My Digital Studio printed and played around with them in order to make hybrid cards.


I need to trim the ribbon on the first one...lol. The "stamp" in top left corner is actually done in My Digital Studio. The greeting is embossed in white.


The centre greeting is digital.


This last one uses a die-cut sticker from a Simply Scrappin kit, but could easily be done in MDS.

Happy Spring!

Thursday, 27 March 2014

Rhodonite creations

I have been working with gemstones in my beading lately. The pink and grey beads throughout are Rhodonite which balance out energies so that you feel grounded, and it encourages compassion. It is meant to give you the strength to stay true to your heart and ideals


This is what the stone looks like under better lighting and in much bigger form...


The pink is a dusty rose colour, a sort of muted pink. I added small crystals, latticed grey metal spacers, and tiny pinkish beads.


The big beads are Travertine Czech firepolished beads and they do have a burnished quality to them. Love them!


It took me awhile to get this finished off, I'm so glad it's done and I can wear it!


I also made myself a purse charm....


The bottom stone is Mookalite, and it's an all pink one which doesn't happen often. It usually has swirls of dark red and mustard. Mookalite  increases your flexibility and your ability to see several solutions to any problem. I added a little Blushing Bride button from the retired Twitterpatted product series.


Stay grounded!


Saturday, 1 March 2014

Telephone Pole Trail


This first photo is a picture of the work in progress, before much of the painting happened.
 I include it only to show how the piece evolved, since it's a bad picture.


The base is a 18"x 20"collage of book pages on canvas. Over this I drew with permanent black marker. I added layers of more book pages, music pages, corrugated cardboard, newspaper, sewing patterns. Using the patterns of the pasted papers to give the painting shape, I then painted with acrylic paints over top.


The snow is created using bubble wrap dipped in paint. The clouds are made with dryer sheets.


I used stamps throughout. There are hints of pearlized stamps in sky that only are visible in a certain light. I used the Illuminate Stamp pad for these.


Here is a close up of my birds, textured with.black microbeads over pieces of torn black tissue paper. Silver dots embellish their edges.


The inspiration behind the piece is the little walking path near my place which provides a view of these telephone poles and a bit of a messy building site. However a cold grey winter and its falling snow turned a routine doggie walk, into a striking moment with the starkness of the white snow, the grey undertones of frozen earth and these black birds. 


I've been working slowly on this for months, chipping away at it. I'm a newbie to mixed media so still experimenting and hope to share more creations soon.


Thursday, 27 February 2014

Post-Valentine post

I finally ordered the Hearts Collection Framelits Dies and had some fun playing with my new toys. Here are some post-Valentine pics...


Stamps: A Round Array
Ink: Regal Rose
Paper: Regal Rose, Sahara Sand dsp, Whisper White and Sahara Sand cardstock
Tools: Pinking hearts border punch, 1 3/4" circle punch, 7/8" scallop circle punch, Hearts Collection Framelits
Extras: Rhinestone


Stamps: none
Ink: Regal Rose (sponging on flower)
Paper: Vanilla Naturals, Pink Pirouette, Regal Rose and Sahara Sand cardstock, Regal Rose dsp, scallop trim from Princess Party Pack
Tools:  Hearts Collection Framelits Dies
Extras: Chat Room rub-ons, vanilla 1/4" grosgrain, Very Vintage button


Stamps: You are Loved
Ink: Regal Rose, Night of Navy
Paper: Pink Pirouette and Night of Navy cardstock, Regal Rose scallop trim from Princess Party Pack
Tools: Hearts Collection Framelits Dies
Extras: Navy Organdy ribbon


Hope your Valentine's was sweet!

Monday, 6 January 2014

Vintage Bejeweled Tree

I got the inspiration for my tree from this pin on Pinterest. I really wanted to create a subdued tree. I'm loving how it sparkles in the light!


Unfortuately, I don't have great pictures as my good camera is being loaned out, so I've only got cell phone pics but here we go...


Lately, this book page base has been something I'm hooked on! So you will see more of it. I modge podged the base with old book pages. 


Then I strung a mix of clear, iridescent, and pearlized beads on wire. Some odd buttons were strung as well as mini jingle bells, onto pieces of wire strung together like garland.


The small circle from Punch Pack and the 3/4" circle punch were used to create the balls on my tree. Champagne and Silver glimmer paper worked great for this.


Happy New Year!


Tuesday, 17 December 2013

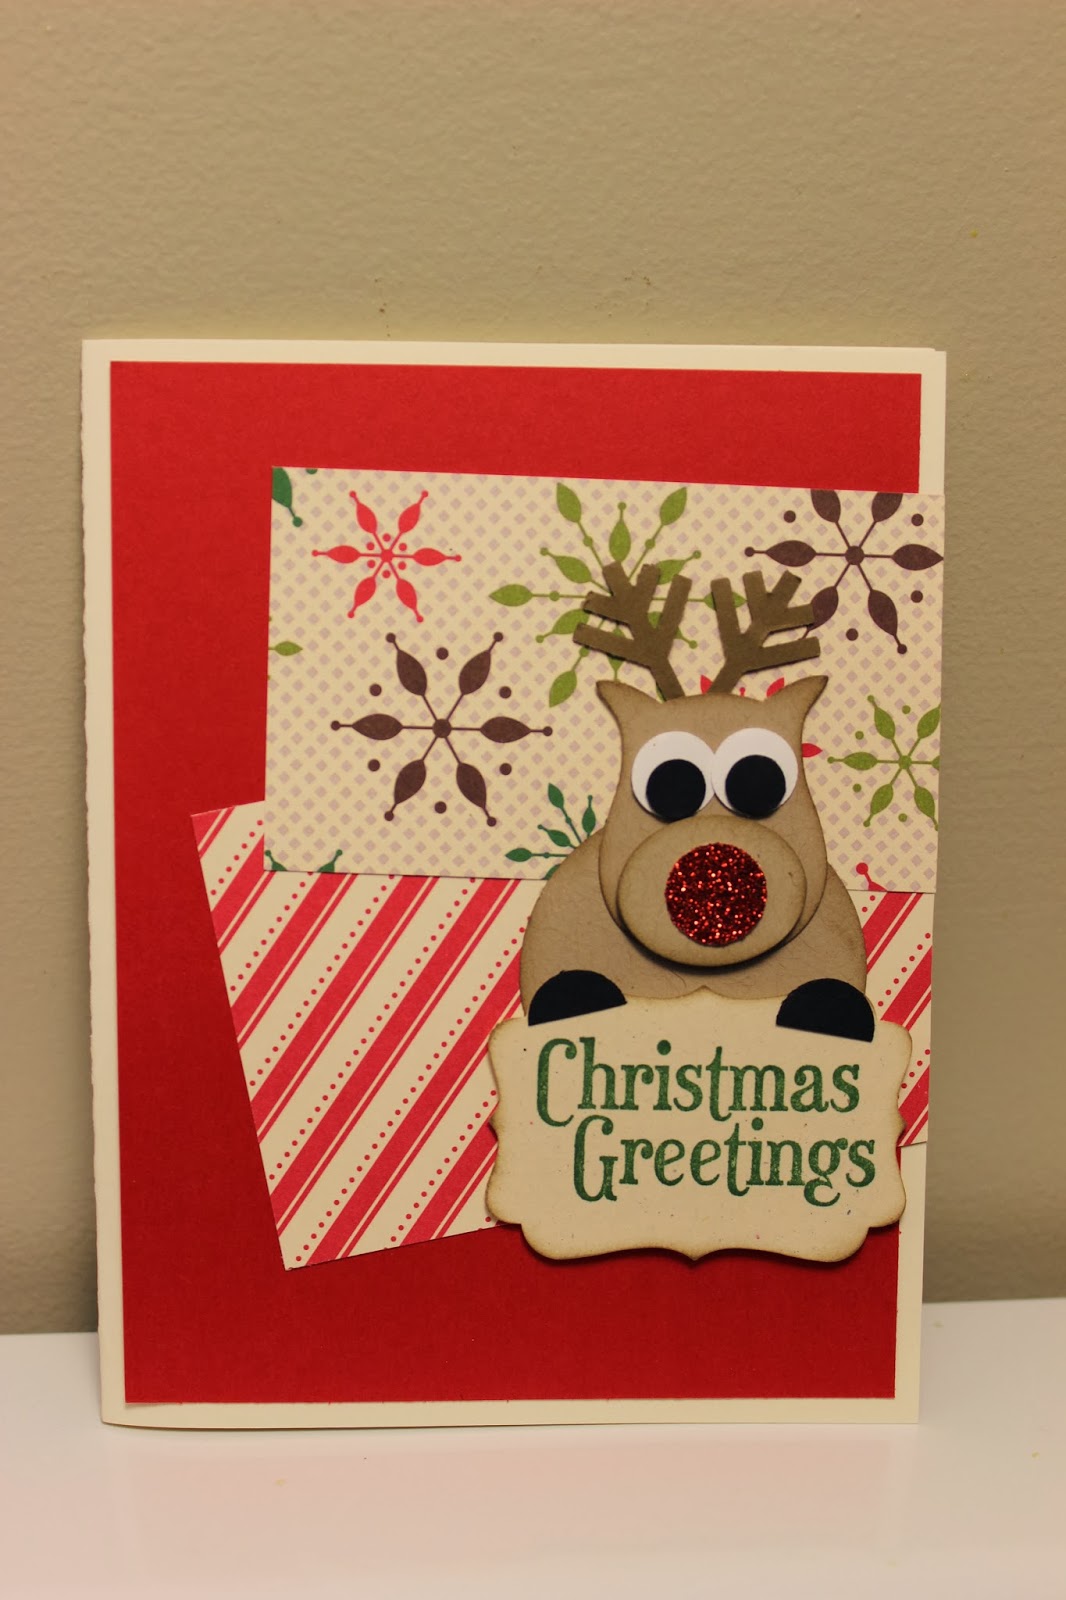
MMC 88: Christmas Greetings Reindeer

Merry Monday's challenge this week is to create a Christmas card with an animal on it. I decided to make a reindeer with my owl punch! I love that the punch can create so many other things.


stamps: Grateful Greetings (retired)
ink: garden green
paper: Tree Trimmings dsp, real red, crumb cake, sorft suede, black, white and very vanilla cardstock, red glimmer paper
tools: decorative label punch, owl punch, 1/2" circle punch, sponge daubers


I made it so that my reindeer is holding up the sign. Isn't he cute? The card itself is kept simple with some pieces of retired Christmas paper applied "randomly." 

I'll keep it short and sweet...because December is, well, December. 

Christmas sometimes feels as though it starts Dec 1st, and it ends sometime in January... friends in from out of town, pot luck parties, exchanging gifts, office parties, relatives, baking, decorating, snow storms, shoveling, Christmas crafting, and then trying to fit December birthdays into it all!? 

May the madness of Christmas let you stop every now and then to breathe!